


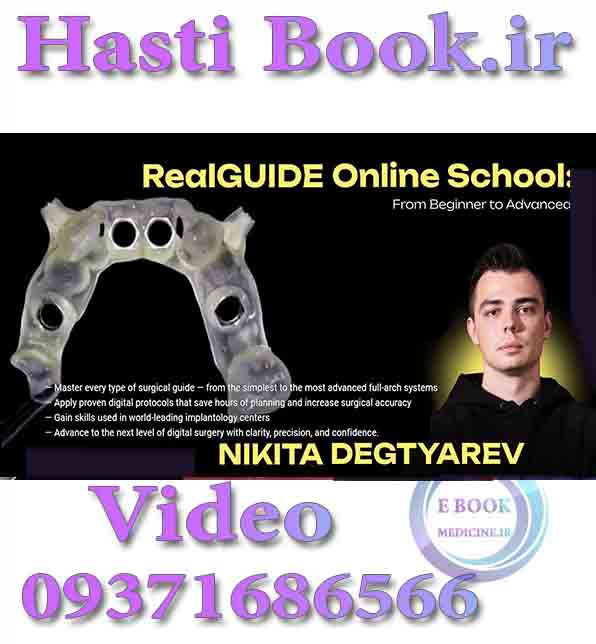
فیلم OHI-S RealGuide Online School - Nikita Degtyarev
شماره تماس ، واتس آپ و تلگرام 📞 09371686566📞
To buy in dollars, if you have PayPal, send a message to our Telegram
+989371686566
شماره تماس ، واتس آپ و تلگرام 📞 09371686566📞
🌸🌸🌸 🌸🌸🌸 🌸🌸🌸 🌸🌸🌸 🌸🌸🌸🌸
.
Detalles
14 lecciones + 1 gratis (11h 10m)
9 CE Credits

Inglés
Acceso a grabación a lo largo del periodo de la Premium
Descripción
RealGUIDE Online School is not just a course — it’s a complete digital transformation of how you plan, design, and execute guided surgery. Every lesson unlocks the exact protocols used by leading clinicians and top surgical centers worldwide.
Designed by one of the earliest RealGuide users and a pioneer with hands-on experience since 2018, Nikita Degtyarev, this course takes you from your very first steps in the software all the way to full-arch workflows, metal-bar guides, multi-component assemblies, and PMMA prosthetic integration.
During the course, you will learn to:
— Master every type of surgical guide — from the simplest to the most advanced full-arch systems
— Apply proven digital protocols that save hours of planning and increase surgical accuracy
— Gain skills used in world-leading implantology centers
— Advance to the next level of digital surgery with clarity, precision, and confidence.
Lección 1.Overview of the Main RealGuide Tools and How to Use Them
— Why is RealGuide gaining popularity?
— Key features and capabilities
— Overview of the Surgical Module
— Overview of the Sandbox Module
— Overview of the Segmentation Module and additional useful modules.
Lección 2.Creating Simple Surgical Guides, Selecting and Modeling Sleeves
— Creating a tooth-supported surgical guide with a defect enabled
— Sleeve selection and offset adjustment
— Creating a custom sleeve from drawings
— Writing a surgical drilling protocol for a navigational set.
Lección 3.Surgical Guides for Fully Edentulous Cases: Radiographic and Mucosa-Supported
— Creating a radiographic surgical guide
— Principles of matching the radiographic guide with CT data
— Data assembly in the 3D scene
— Modeling a mucosa-supported surgical guide.
Lección 4.Surgical Guides for Fully Edentulous Cases: Sectional Guide on Edentulous Jaws
— Matching edentulous jaw models with CT data and creating a digital wax-up: implementation options
— Creating a surgical guide base on fixation pins
— Creating a sectional surgical guide
— Options for fixing the base and counterpart parts of surgical guides.
Lección 5.Surgical Guides for All-on-6 with Immediate Tooth Extraction
— Implant positioning during immediate extraction
— Creating a surgical guide for transferring fixation pin positions
— Preparing the 3D jaw model for work
— Creating a surgical guide based on the placed pins.
Lección 6.Sectional Surgical Guides for All-on-6 with Immediate Tooth Extraction
— Creating a surgical guide for fixation pins
— Creating a base guide for ridge reduction
— Creating the counterpart part of the surgical guide for osteotomy preparation
— Options for fixing the sectional guide parts together.
Lección 7.Various Methods of Bite Transfer for Full-Arch Cases in a Digital Format
— Modeling a surgical guide for bite transfer
— Working with intraoral scan markers
— Making a scanning guide for digital post-op data transfer to existing project
— Data matching in the 3D scene.
Lección 8.Immediate Loading for Full-Arch Cases in RealGuide
— Creating channels in the virtual prosthesis
— Options for fixing the prosthesis relative to surgical guides
— Combining analog and digital workflows
— Transferring implant positions to models.
Lección 9.Additional Guides: for Tooth Autotransplantation, Gingivectomy, and others
— Creating surgical guides for tooth autotransplantation
— Creating surgical guides for gingival contour correction
— Modeling a surgical guide for bone trepanation
— Creating a custom healing abutment.
Lección 10.Metal Bar Guides. Part 1
— Importing an FP1 prosthesis from exocad
— Matching the adapter with the anatomical model
— Linking files with the wax-up
— Implant placement for All-on-4
— Selecting multi-units and determining the angles between channel exits
— Surgical aspects of positioning fixation pins.
Lección 11.Metal Bar Guides. Part 2
— Placing fixation pins from the palatal and vestibular sides
— Demonstration of the metal guide base and tooth-supported fixator
— Sleeve selection and offset adjustment
— Creating blanks for metal housing seats for sleeves
— Creating clearance for sleeve seating
— Modeling the base metal guide.
Lección 12.Fabrication of Full-Protocol Metal Guides with Sleeve Integration
— Removing excess elements in the sleeve housing seats
— Creating a tooth-borne positioner for the metal guide
— Removing teeth on the anatomical model
— Creating a metal guide with sleeves for a full navigational protocol
— Placing custom retention and magnetic connectors
— Aligning the connectors.
Lección 13.Connector Integration and Multi-Component Guide Assembly
— Linking connectors with the base of the metal guide
— Cleaning the housing seats for magnets and retention elements in the base
— Linking the tooth-borne positioner with the connectors via a bar
— Linking the sleeve-bearing metal guide with the connectors
— Cleaning the housing seats for magnets and retention elements in the guide.
Lección 14.Finalization of the PMMA Prosthesis Workflow and Insertion Path
— Creating the insertion path for the milled PMMA prosthesis in the adapter
— Creating the flanges for the milled PMMA prosthesis; design verification
— Discussion of results + bonus.
Lección 15.Transition Design Toward the PMMA Prosthetic Phase
— Creating a transition system for a milled PMMA prosthesis
— Linking connectors and prosthesis adapter with a bar
— Creating supports for prosthesis flanges
— Creating housing seats and clearance for prosthesis flanges.